Clearing Up OSMDroid Tutorial Confusion
September 25 2021
One of the projects that I've been working on involves adding a map to an Android application. While this can be done via Google Maps, I was encouraged to use the open source project OpenStreetMap. I was nudged towards OpenStreetMap by the fact that the Google Maps API has usage costs if your application becomes too popular and the fact that OpenStreetMap provides the data used by many companies that I trust (for example, Strava).
OpenStreetMap data can be accessed and manipulated using the Android Library OSMDroid. Unfortunately, OSMDroid's introduction was a bit rough to me. This is not entirely the fault of the developers. It seems like some of the wiki/tutorial pages have been deleted mysteriously. (Perhaps by a novice like me who, though I'm not affiliated with the project, somehow has Edit privileges on the wiki. Strange...)
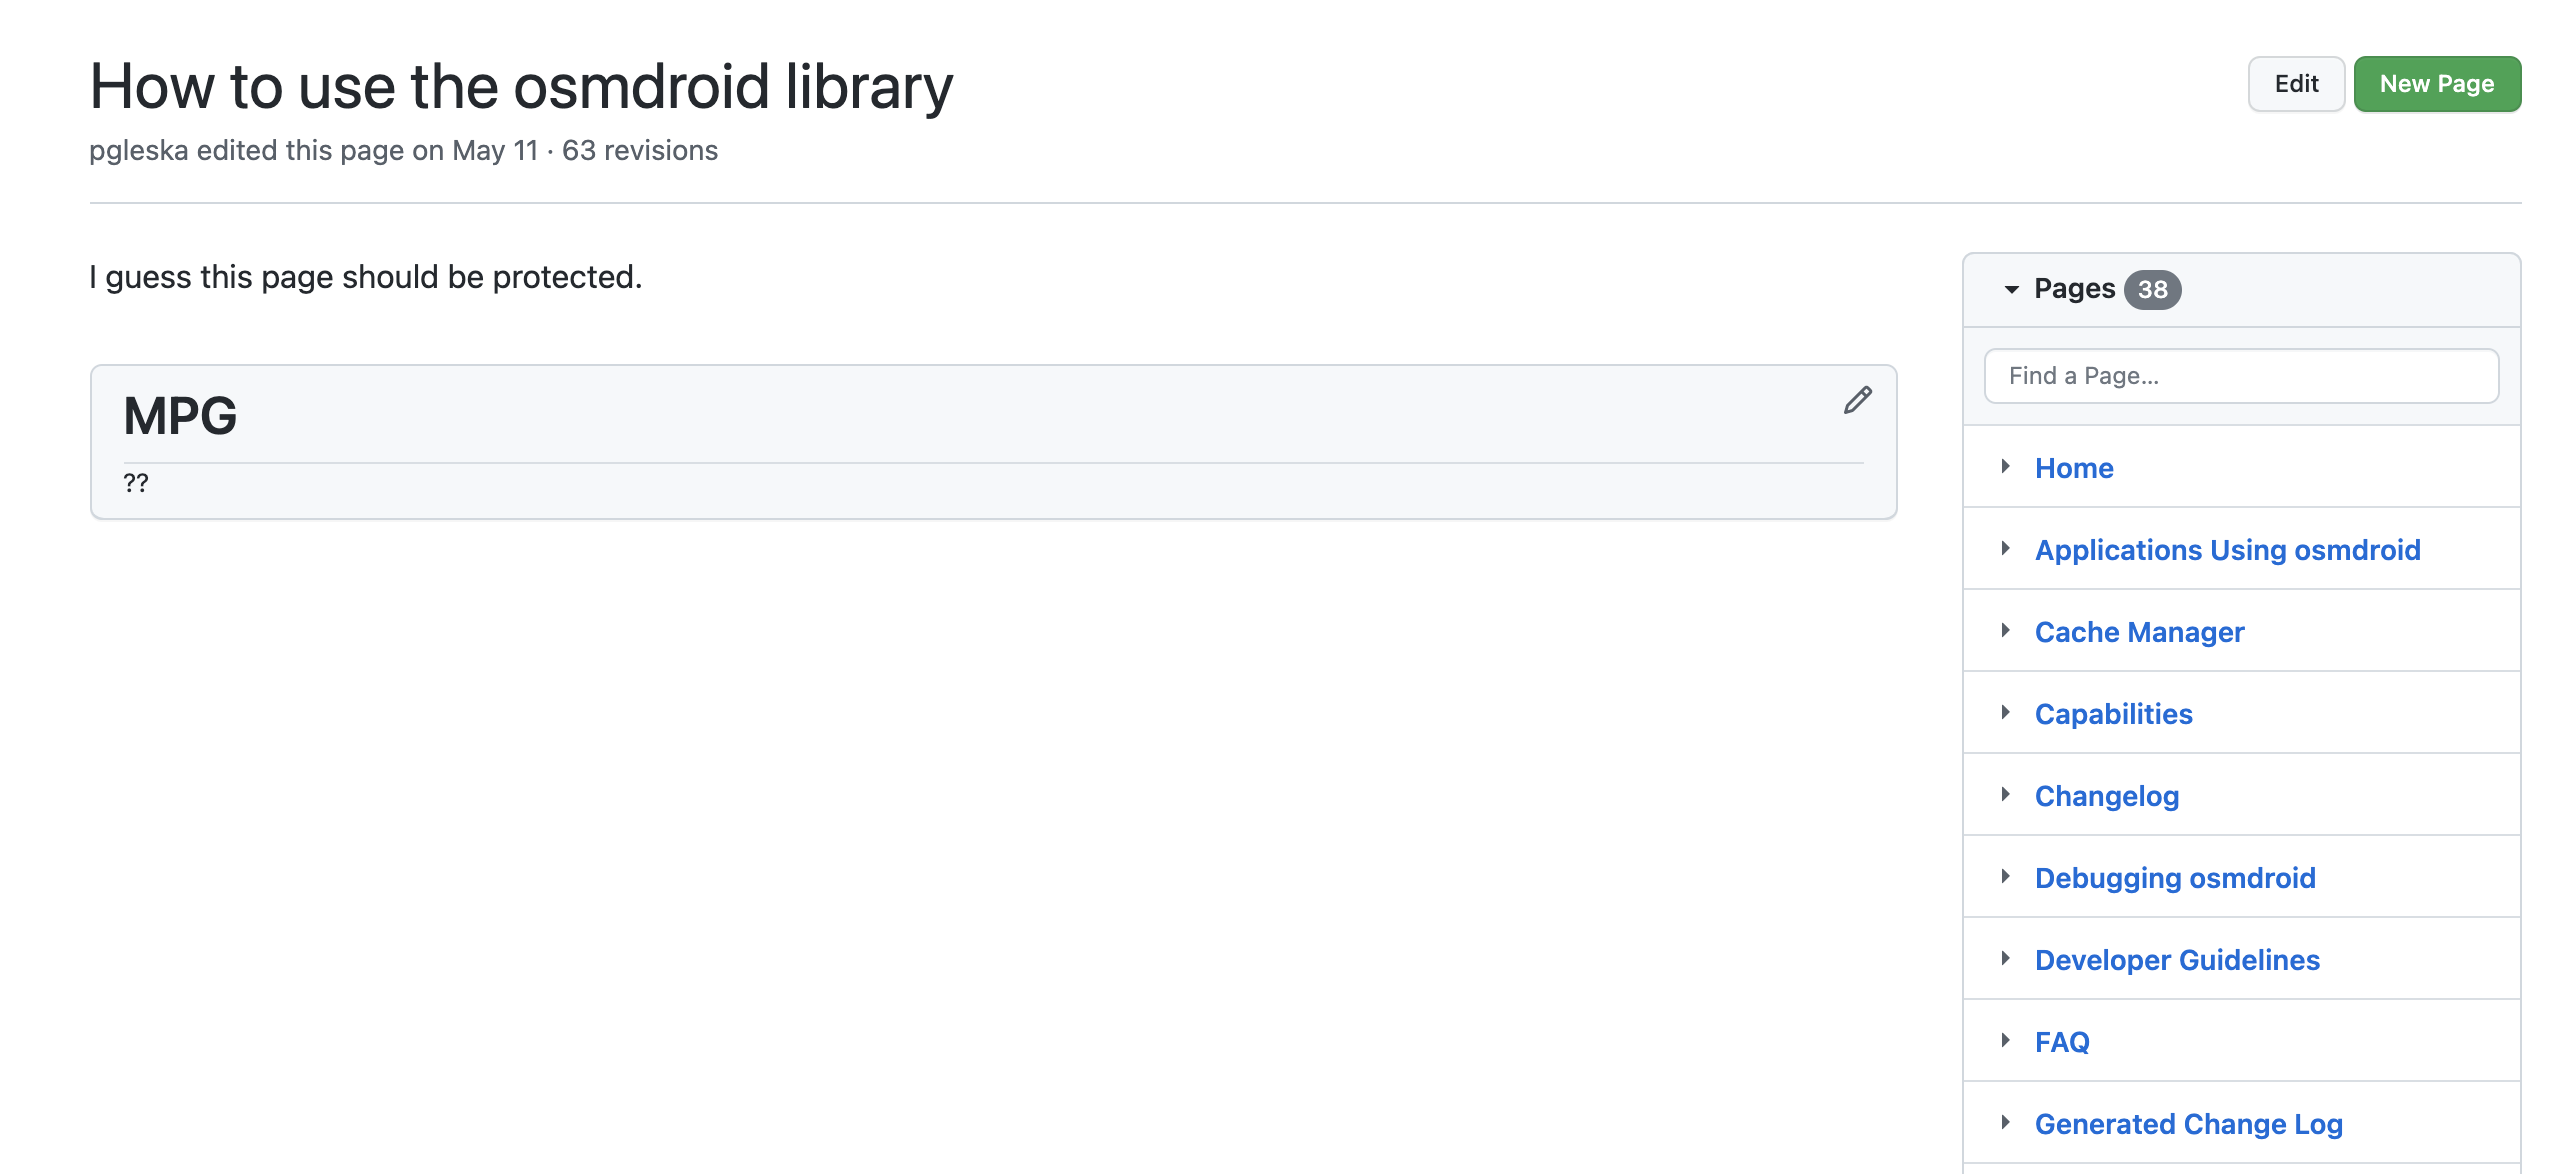
This screenshot is from the 'How to Use the OSMDroid Library' part of the OSMDroid Wiki as of Sep. 21, 2021.
This post is meant to simply to report the way that I was able to successfully create my first OSMDroid application using a combination of the OSMDroid's "How to Use the OSMDroid Library (Kotlin)" along with a lot of Googling. Feel free to use it to help yourself get started with OSMDroid and let me know if anything worked or didn't work for you!
My instructions:
- Make sure to follow the instructions for the Prerequisites (discussed in step 1 on the Wiki's Home page ).
- Add all of the necessary lines to your AndroidManifest.xml file.
- Add the dependencies (
osmdroid-android,osmdroid-wms,osmdroid-mapsforgeandosmdroid-geopackage) to your Gradle file (I used version 6.0.1)
-
To the AndroidManifest.xml file add the following property to the application tag:
android:usesCleartextTraffic="true". This allows OSMDroid to communicate with the online resources that serve the map tiles (serve you your map). -
Begin following the instructions from "How to Use the OSMDroid Library (Kotlin)":
- Verify that the AndroidManifest.xml file contains all of the necessary authorizations.
- Copy the contents of the layout file given in the tutorial to your own page.
- Copy the contents of the example MainActivity.kt into your own MainActivity.kt file.
-
MainActivity.kt needs a few edits. Do the following:
- Delete or comment the following line:
import com.niels_ole.customtileserver.R - Add the import:
import org.osmdroid.config.Configuration - Add the following line to your onCreate() function. It may help some people avoid errors that come with authenticating when requesting OSMData:
Configuration.getInstance().setUserAgentValue(this.getPackageName());
- Delete or comment the following line:
- Run the application!
When you run the application, you may receive an image like the following:

This screenshot is from Android device emulator after running the above steps.
Have no fear! This is working! Each of the repeated images is a map of the globe; you can learn about setting the initial zoom level/how to center the map on a certain point through the OSMDroid Wiki. ;) Good luck!
Hopefully this helps you avoid wasting some of the time that I did.